Your customers are scrolling your website looking for products you don’t have. But, really, you have them… sitting in boxes, not photographed.
This is my nightmare.
While most people dread having to put their products online, I love finding ways to make it easier. I’m motivated by the fact that we can’t sell products we haven’t put online yet.
Shooting product photos doesn’t have to be such a drag!
You only need to consider 3 things…
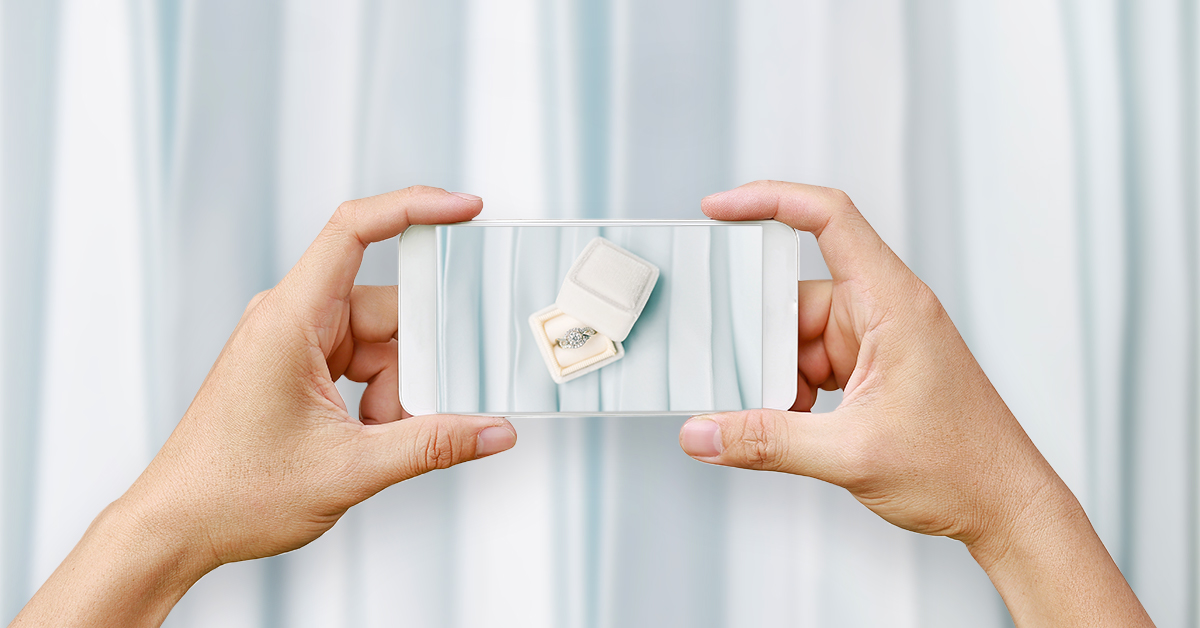
At Snapshop, we’re not gear-heads. We use mobile phones to shoot products, not DSLR cameras! (We never have to worry about cameras and lenses. Yeah!)
For this reason, Lightspeed invited us to help you get the basics right. Useless technicalities shouldn’t get in the way of getting good product photos! Our goal is to help you get started.
Here are the only 3 things you need to consider when setting up. Once you try out all the different methods for yourself, you will know what works… And get it done!
Consideration 1: Space and time needed to photograph
You don’t have time to shoot?
You don’t have space to set up?
What I understand is: you don’t take the time, you didn’t make the space.

You do need time and space to shoot your products; it’s part of your business. Having no photos is like having no products: no sales.
To help you organize, think about the size, quantity and frequency of new product arrivals.
To best estimate how much time and space you need, ask yourself these 3 questions:
What are you going to shoot?
You know what products you carry right now, you may not in 6 months. Chances are you can’t predict what you will have to sell/shoot either.
Are your products always small (like jewelry) or are they big and heavy (like furniture)? Are they wrapped in boxes or do they have parts that you need to lay down?
If they are of different shapes, you will need more time to place them between shots (see consideration 3). Are they unique or similar? Are they fragile or long to unbox?
Manipulation takes time.
The bigger your products are, the more space you will need. Don’t start thinking about renting extra space – or starting to pile things up in your dining room just yet. You need to know what your new product quantity and arrival frequency is beforehand.

What quantity will you need to shoot and how often?
How many new products did you have to put up online last year? Use it to predict your monthly or weekly numbers this year.
The goal here is to know if there are trends in new product arrivals. Are there peak seasons or are new arrivals constant? How often do you have to shoot? And how many products do you have to shoot at a time?
Your supplier might be providing you with photos, but if some are missing, you may be able avoid shooting altogether by finding them online (We can help you find them).
Shooting frequency determines if your setup needs to be temporary or permanent. It should be temporary if you need to put it up once every month, season or year. It should be permanent if you shoot many products weekly.
Saving a space for product photography is worth considering. While your photo setup takes up space, products can take much more. Letting boxes pile up, waiting to be shot in batches, may cost you some precious space (and time).

Where can you put a permanent or temporary set up?
No matter if your set up is temporary or permanent, you must find space for it in your house, office, warehouse or elsewhere. Keep in mind, a permanent set up won’t necessarily be in the same place as a temporary one… Please spare your kitchen table from permanent hoarding.
3 littles things to consider:
- Is your space far away from your product’s samples? Think about commuting time.
- Is the room’s lighting color a bit orange or green? Can you change it? (see Consideration 2)
- Are there accessible power outlets in the room? (see Consideration 2)
Consideration 2: Photo background and lighting
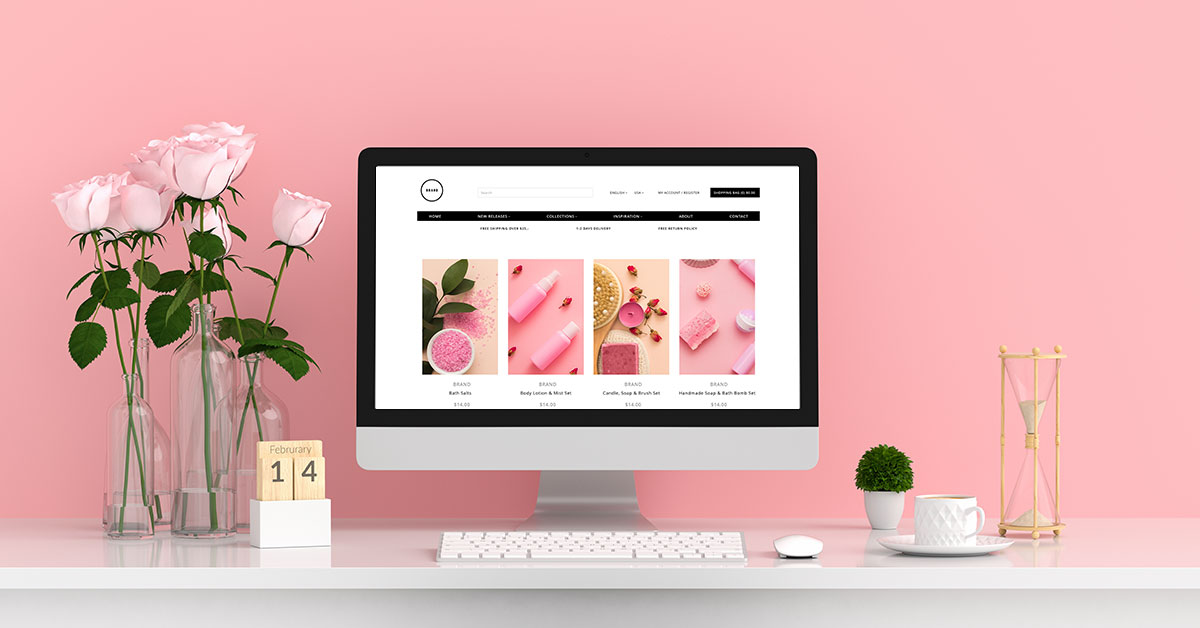
We like editorial shots and beautiful lifestyle ads but, at the end of the day, product-only photos will be the ones dwelling your product page.
You want your product shots to look professional and inspire trust. We are hardcore believers in deep-etched photos. (For those of you who don’t know what that is, it means that the background is clipped and removed). Deep-etched photos carry a white or coloured background and help with balancing your products’ colors, tone and alignment (see Consideration 3).

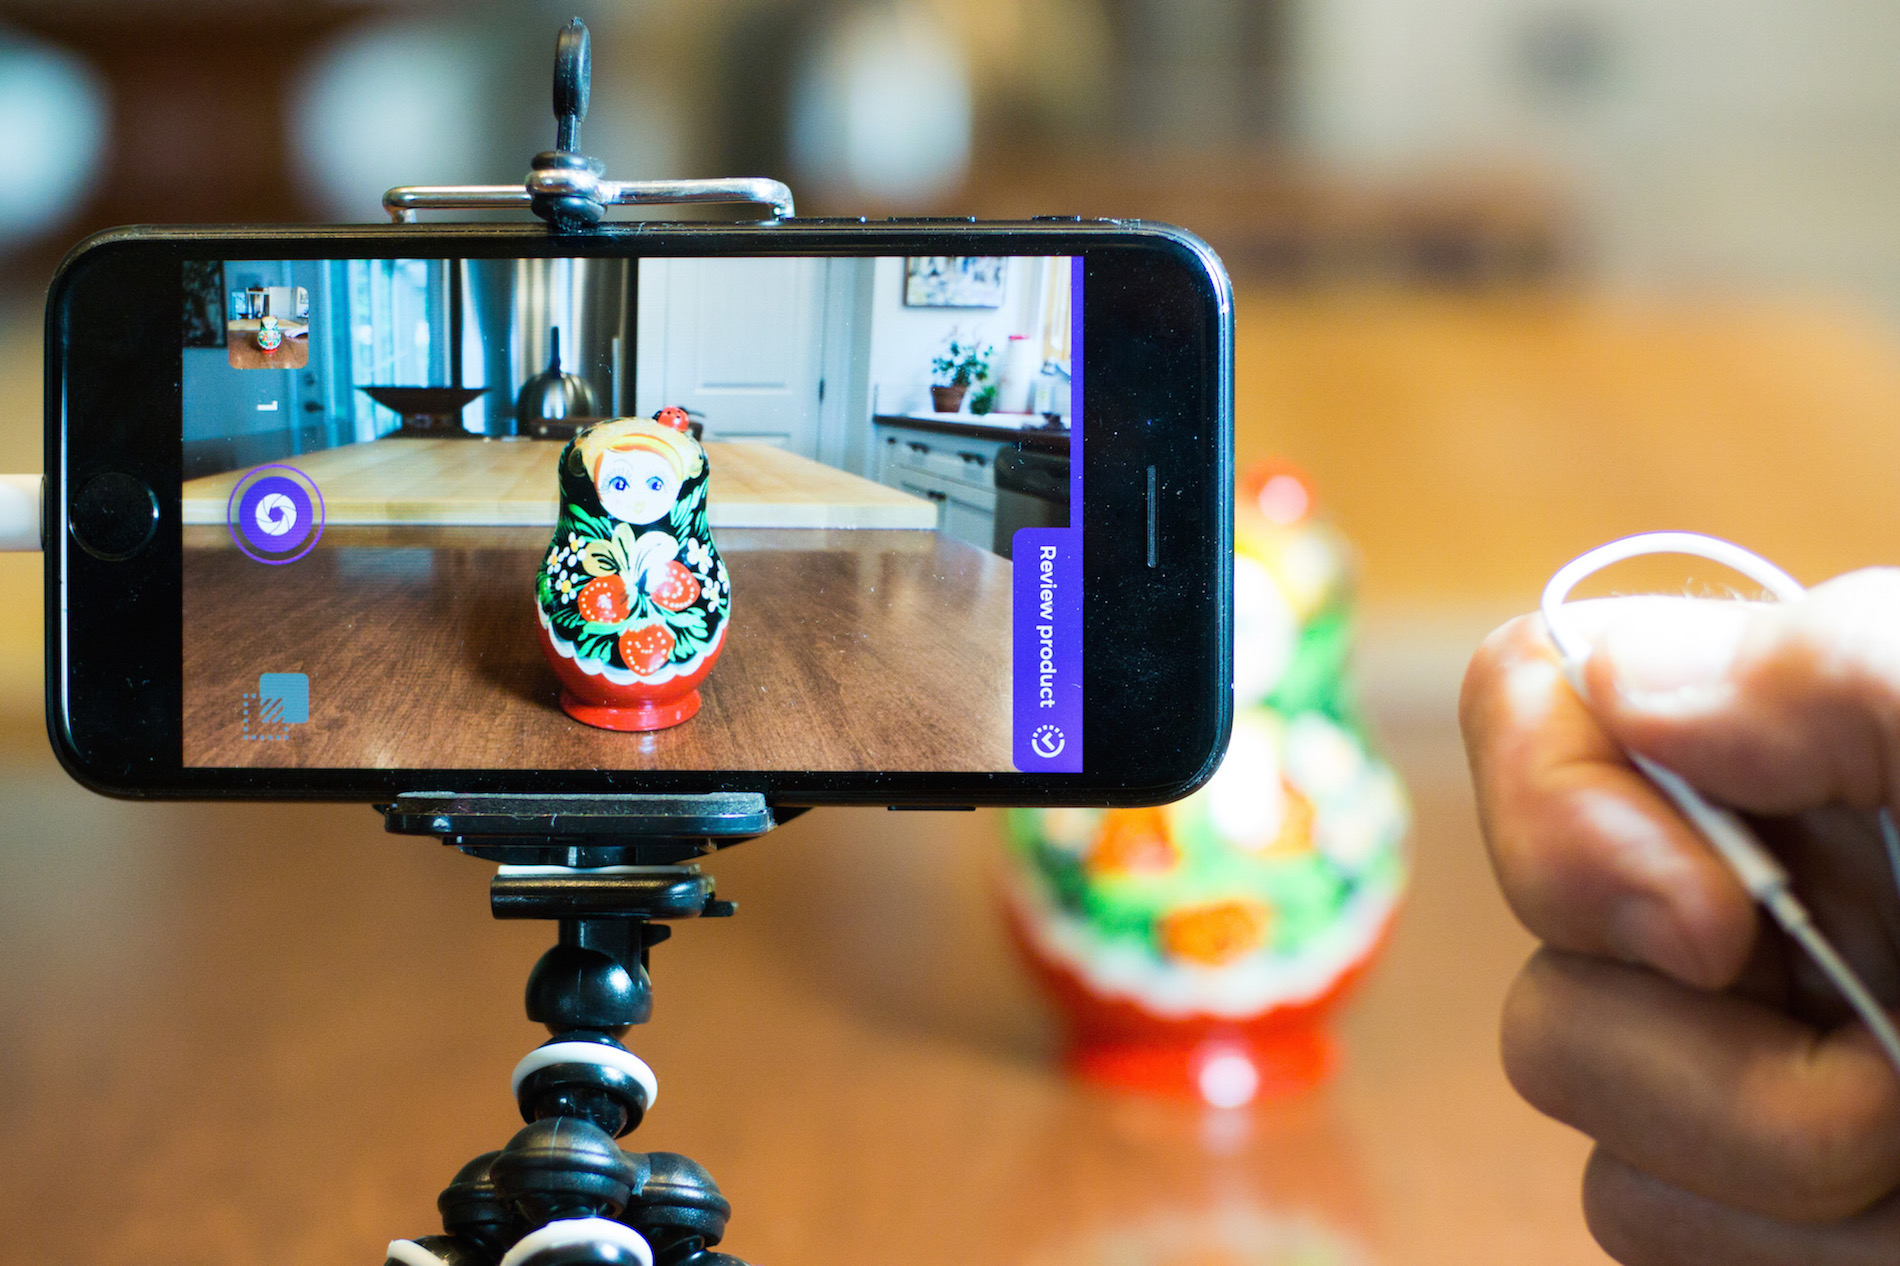
A product shot with Snapshop’s mobile app by Collective Harmony from Australia.
Background and lighting work hand-in-hand to make your products shine. Does it mean you need a $1000 photo studio to have your pictures looking good?
No, it doesn’t.
What you do need is a backdrop and proper light bulbs.
A backdrop will help you isolate your product, and make the images sharper and more vibrant.
A backdrop should:
- Drape behind the product and bend seamlessly to lay flat underneath it.
- Be larger and higher than your products to occupy the whole background of your shots.
- Be white, so it can reflect light. Thick wrapping paper works great because of its slight shine.
![backdrop]()

Different product sizes call for different backdrop options:
- Small products are easy to shoot with foldable studios (or small backdrops)
- Medium-sized products can be installed on a table next to a wall; tape the backdrop to the wall and lay it on the table.
- Large and tall products may force you to invest in a larger self-standing backdrop (or force you to get crafty with curtain rods).
- X-Large… Photoshop (or Snapshop) are your friends.

You need good lighting. In other words, you need the right light bulbs. The light’s color is what matters most. We recommend buying light bulbs that replicate daylight’s color (we use 30 Watt Bulb Full Spectrum CFL Photo Video Light, 5500K Daylight).
You can use table top lamps to light up your products – put one on each side. Note that if there are harsh reflections on the object, you need to make the light less direct. To do so, swivel the lamp’s head up or down or move it back from the product.
Lighting’s role is to remove shadows on the object and make it more vibrant. Even with the best lighting conditions, a product photo still needs to have its background removed. At Snapshop, we do miracles with bad backgrounds, but can do very little with bad lighting, which is why we can’t stress enough the importance of lighting.
Consideration 3: Aligning products when shooting
You shot a beautiful product photo that was well lit and had its background removed. It looks great by itself, but not when uploaded to your website.
Why?
Because it clashes with your other products; it doesn’t align well.
Nobody likes to shop a page where products look all different. Misaligned. With different backgrounds.

When shopping online, a customer’s trust in the images equals trust in the purchased product. Therefore, you want to spend energy making sure your photos’ alignment is consistent.
How can you align your products when you shoot them (without hating photography again)? Product alignment is no easy feat; it can easily slow down your product shootings. Worse, it can discourage you from shooting your products altogether.
There are 3 possible solutions to get things done:
- Estimate the product’s position with other products in your shot
Use a laptop or iPad to download the photos you plan on using as templates. These photos will help you align by eye the products you are about to shoot. All you have to do is compare the camera view with the other image used as reference.
It is not precise, but it works… And is definitely better than using nothing. If you have a good eye, you can work with this method, but if you end up hesitating and taking lots of time to compare… do not use it.
- Make yourself a stencil
The goal is to mark your products’ spot so that you can align them one after the other.
The first kind of stencil you can make is the simplest: a cardboard template. Cut it around your product’s edges so you can place your next items into the empty space. This works especially well with products of similar shape.
Its downside is that you need to keep the same camera position between shots. Otherwise your products won’t occupy the frame evenly. So, using a tripod is mandatory. Note that if you have to shoot on multiple days, you may have a hard time placing your camera the same way again… Unless you have a permanent set up (see consideration 1).
Drawing a line alongside the back of your product is another kind of stencil; just like standing on an “X” mark when getting your portrait done. You can use a slim strip of gaffer tape or draw a line with a pencil (if you’re not using a fancy backdrop).
Leaving a mark is an easy way to make sure you respect your 45-degree angle on every single product you shoot. Again, using a tripod is the only way to stay consistent when using this method.![stensil]()
- Use the Snapshop camera app to use a built-in guide in your camera viewer
Aligning products perfectly can be quite discouraging. So, we worked hard to find an easier solution.
And we found one; it was almost too simple.
Earlier, we said that we shoot products with mobile phones, remember? So we decided to integrate the stencil straight into the camera viewer.
![]()
We called it Ghost. To use it, select an existing product photo from your camera roll. Snapshop will then overlay it in your viewfinder with 50% transparency. Simply align this photo to the product you are shooting and click. Your new product is now perfectly aligned to the old one; no tripod necessary.


Conclusion (TL;DR)

You won’t increase your sales without having all your products online. Thus, finding a way to shoot your product photos as soon as you get the inventory is key to your business’ success.
First, you need time and space to shoot. To estimate how much time, determine the size, quantity and frequency of new product arrivals. Will you need to shoot often? Will you need a lot of space? Knowing this will help you determine if your set up needs to be permanent or temporary.
Second, you need to use proper backdrop and lighting. This doesn’t mean you need to spend much; it can be done under $20. A backdrop will help you isolate your product and make your images sharper. Depending on the size range of your products, white gift wrapping paper can do the job. The lighting’s role is to remove shadows on the object and make it more vibrant. We recommend buying light bulbs that replicate daylight’s color.
Third, you need to align your products to one another with the same angle by following one of the 3 options. You can either compare a product photo on a separate screen to what you see in your viewer. You can make yourself a stencil using cardboard or gaffer tape. Or you can integrate existing product photos as overlay right in Snapshop‘s camera viewer.
No matter how you choose to set up, what matters is that you showcase your products online with great photos; and as soon as possible, for that matter. If you can take the time to shoot your products, do it to save on costs. Knowing this part of your business can only help you in the end. After taking into account these 3 considerations, schedule in a photo date with your products… And just do it.

News you care about. Tips you can use.
Everything your business needs to grow, delivered straight to your inbox.

